Building Process
We used the Innovation Studio in MEL and the Machine Shop in MEB in our construction process.
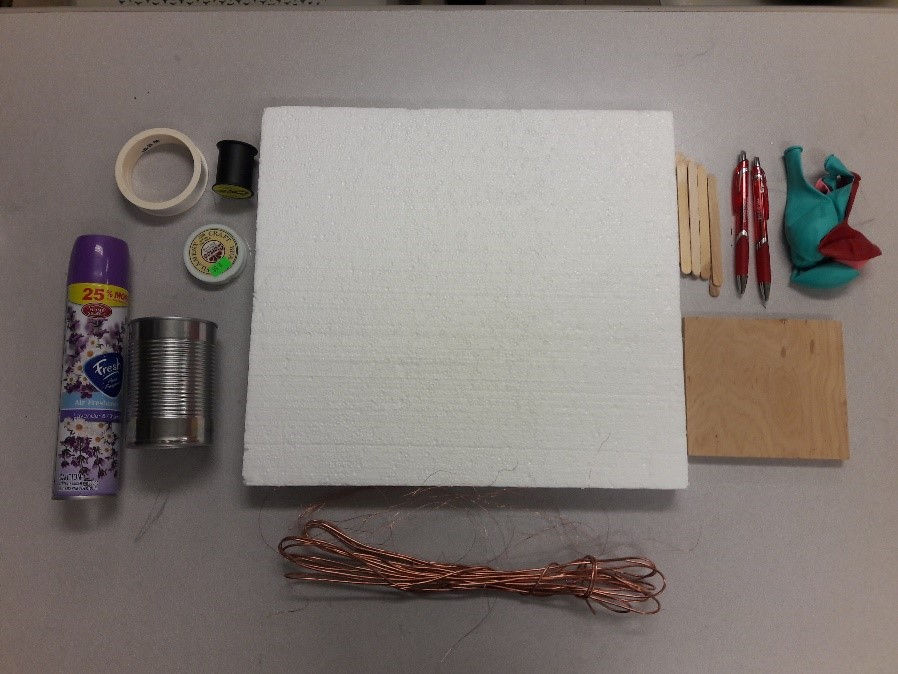
In addition, we went to Mack's scrapyard to pick out copper wires and aerosol cans and purchased the rest at the IDEA store in Lincoln Square Mall.


Engine Body
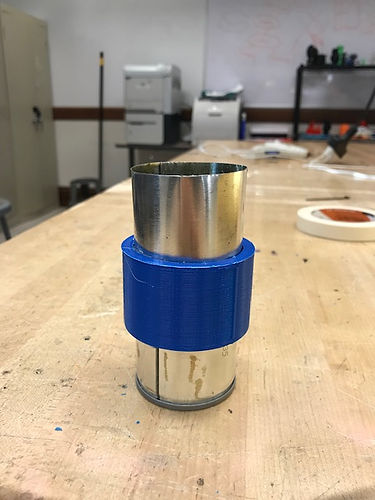
We sandwiched the 3D printed sleeve between the top and bottom sections of the tin can. This is to provide enough insulation between the two ends of the engine such that air can expand and cool effectively.

Flywheel
We recycled an old ribbon bobbin and attached a Styrofoam cylinder through its center so it can be supported by the crankshaft. We chose to use Styrofoam as it is light and ensures that most of the weight is still distributed along the outer edges of the flywheel.
To increase the moment of inertia further, we wound some soldering wire around the bobbin.
Power Piston
We cut off a section of a balloon wide enough to fit over the opening of the engine body. To improve the stability of the piston, we glued cardboard circles on both sides of the balloon.


Displacement Piston
We rolled up fine steel wool into a cylinder that was slightly smaller than the diameter of the engine body.
Crankshaft
This crankshaft is made from a steel welding rod, with the assistance and generosity of the staff at the Machine Shop.
.jpg)
Final Product
